Order the required DATEV products
Before installing the connector, order the free DATEVconnect product from the DATEV shop. Add the following products if you need the corresponding data:
- For DMS documents: DATEVconnect Dokumentenmanagement
- For individual accounting entries: DATEVconnect Kontobuchungen
Wait until DATEV has installed the ordered products in the SmartIT environment before continuing.
Install the connector in the SmartIT session
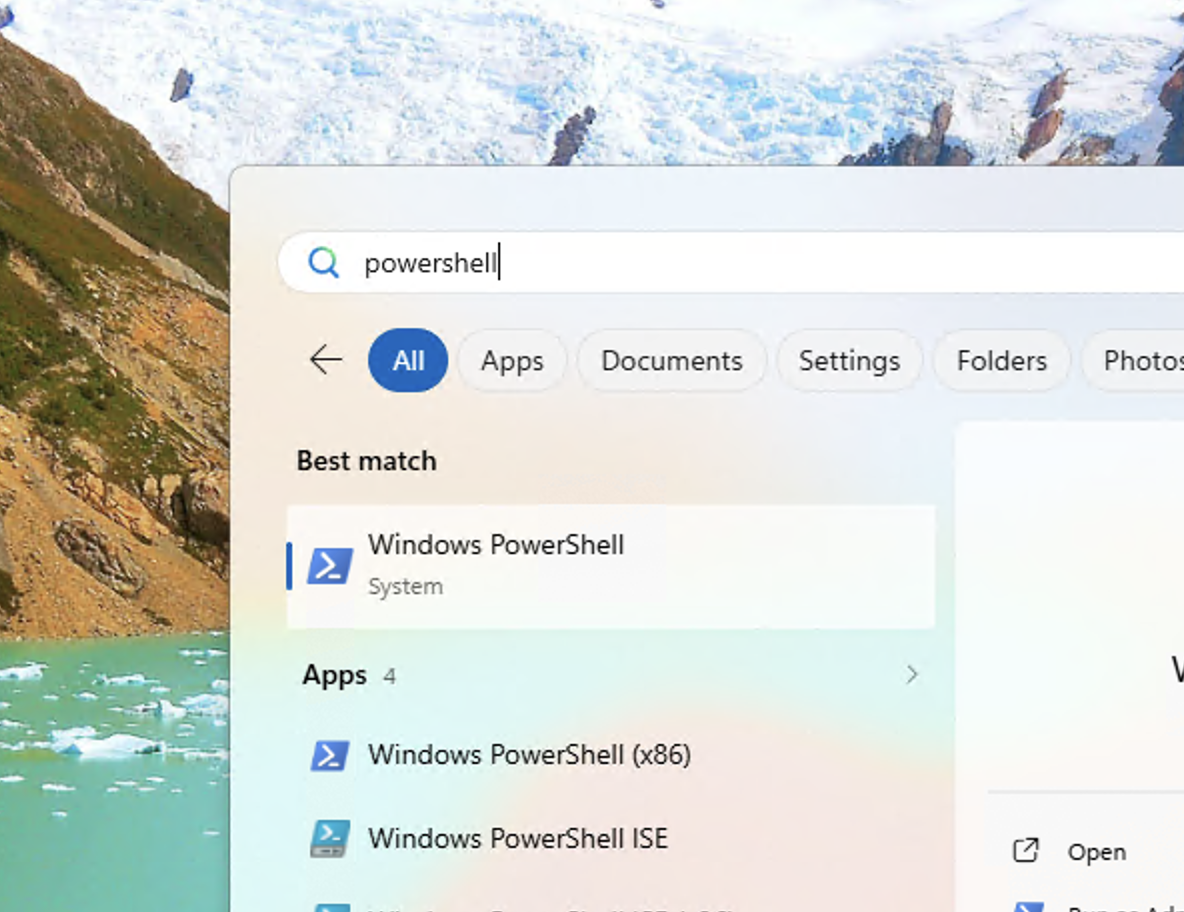
1. Open PowerShell
Open a Windows PowerShell window inside the DATEV SmartIT system.
2. Run the installation command
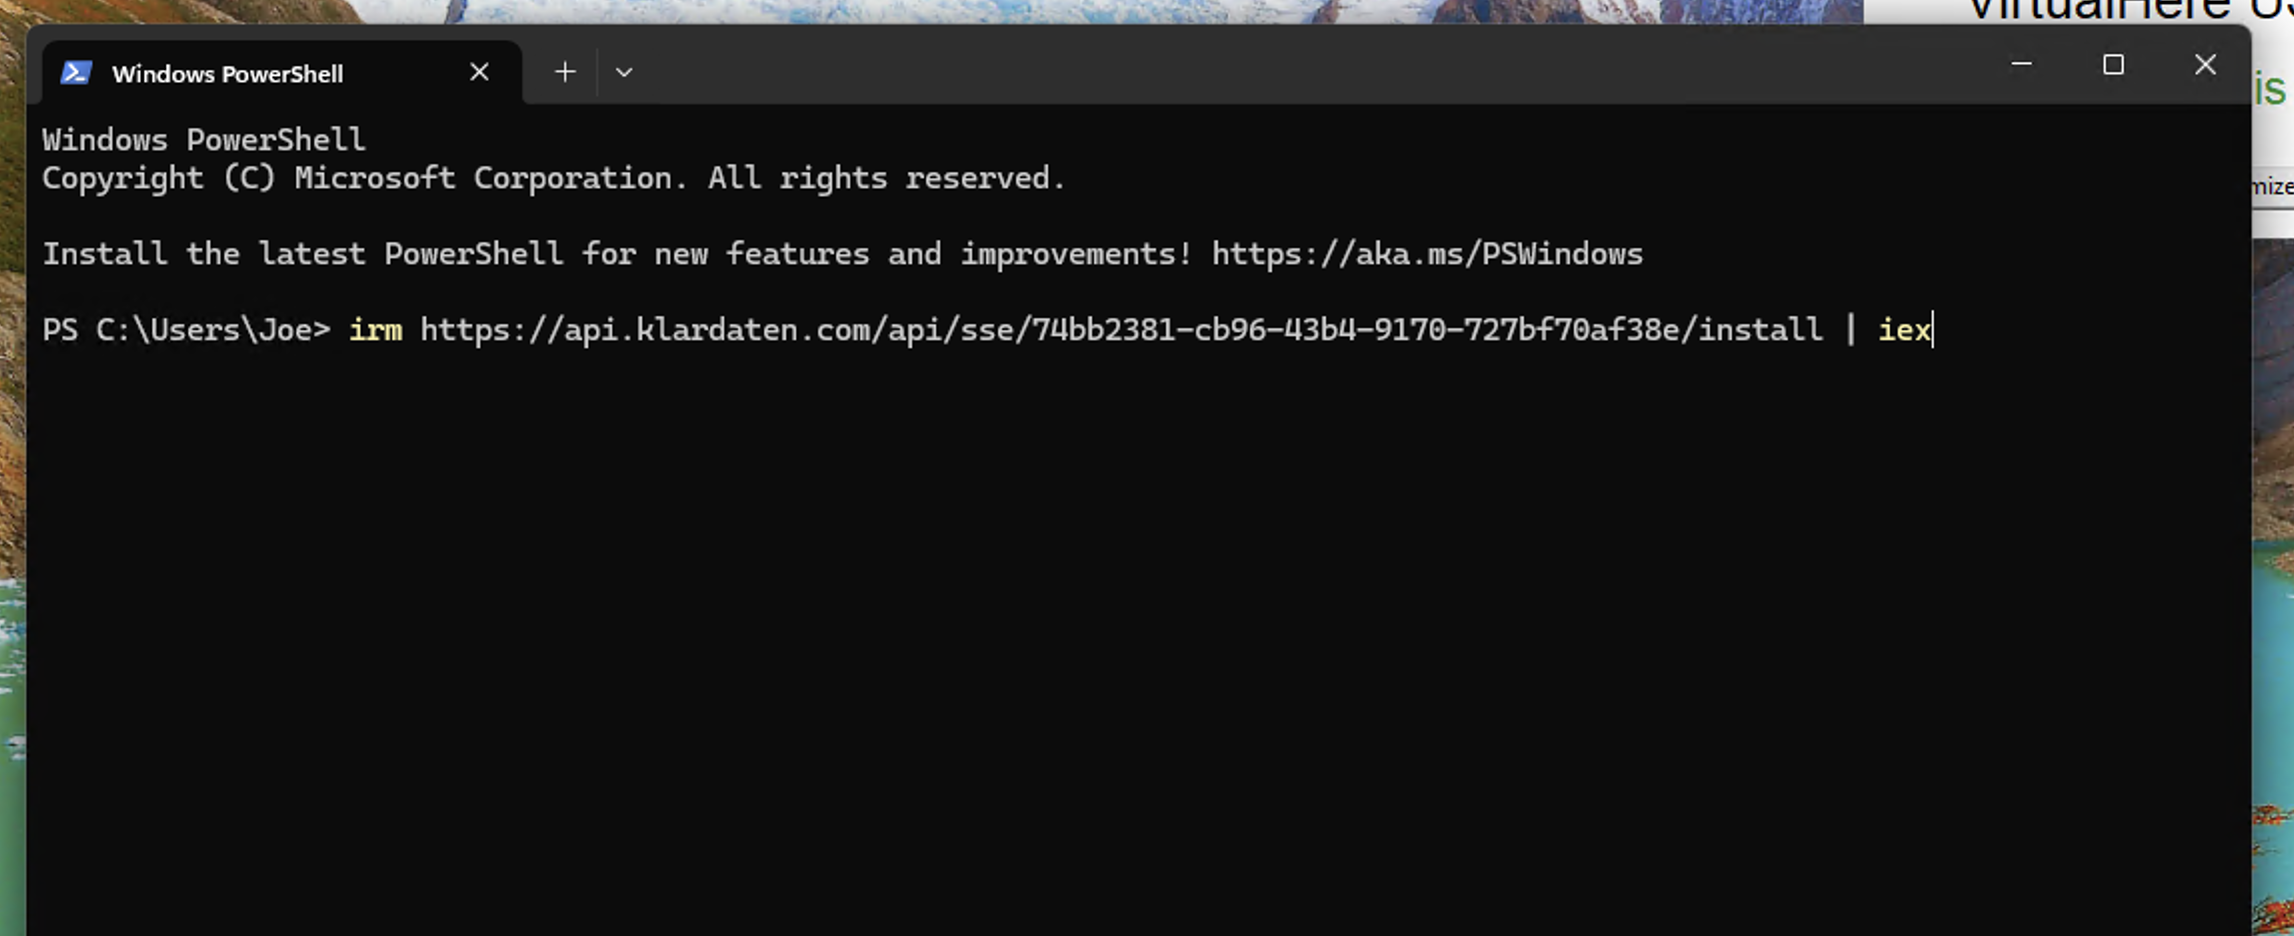
Run the command provided for your instance. It uses the following format:
irm https://api.klardaten.com/api/sse/YOUR_INSTANCE_ID/install | iex
Replace YOUR_INSTANCE_ID with the instance ID from your onboarding. Copy the complete command from the Klardaten dashboard instead of transcribing it from the screenshot.
3. Enter the API key
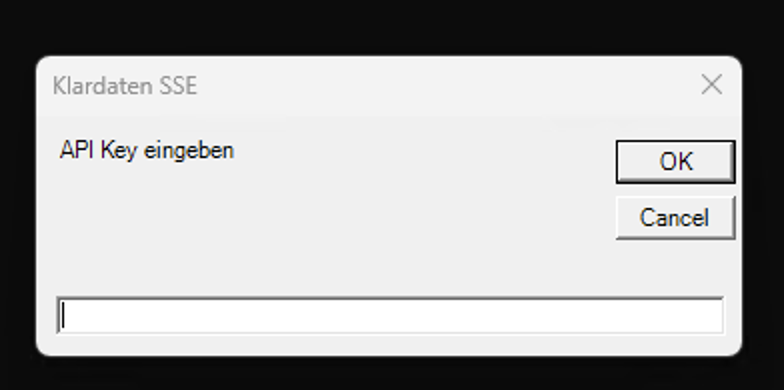
Enter the API key from your onboarding in the dialog and confirm with OK.
4. Check the result
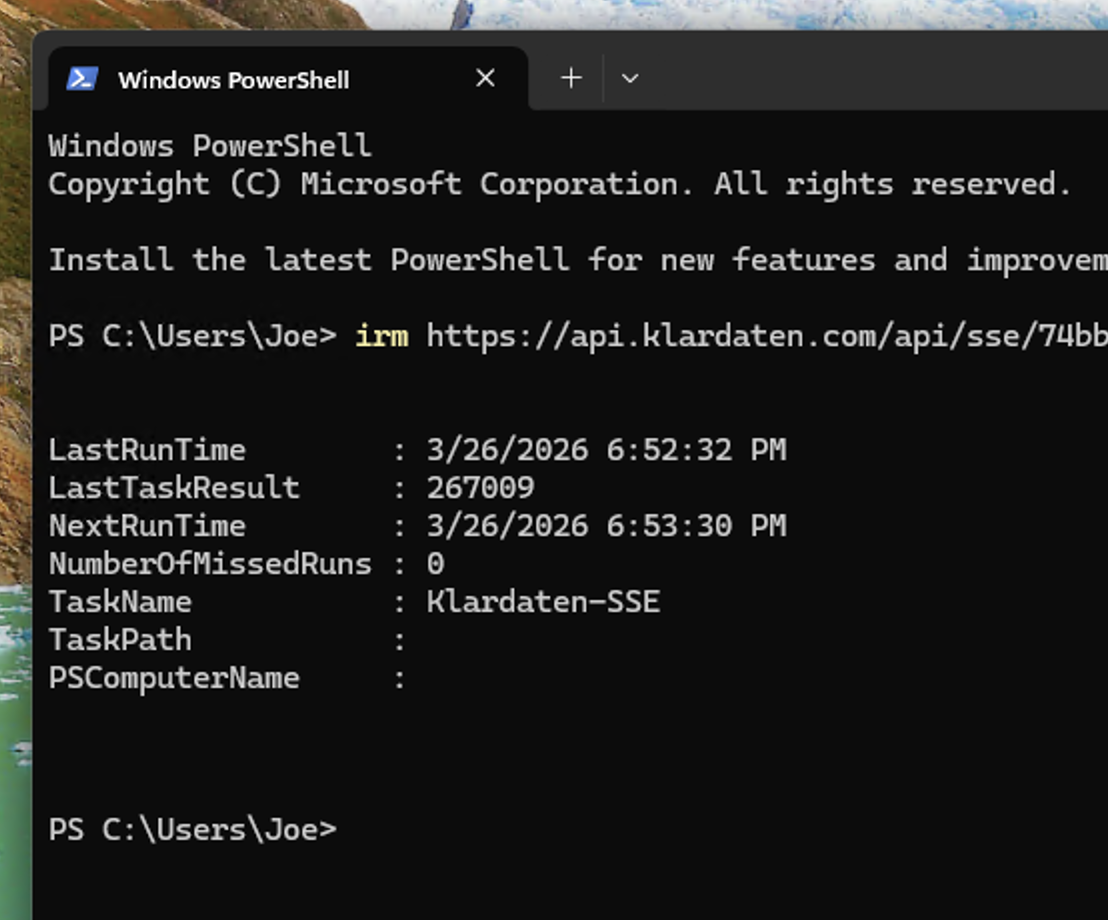
The setup is complete when PowerShell shows the Klardaten-SSE task without an installation error. You can then close the PowerShell window.
The connection is available only while the SmartIT session remains active. When leaving SmartIT, choose Disconnect rather than Sign out. After a sign-out, the connection remains unavailable until the user signs in again.
Need help?
If something is not working, send us the relevant logs or a screenshot together with a short description of the environment.
Email support