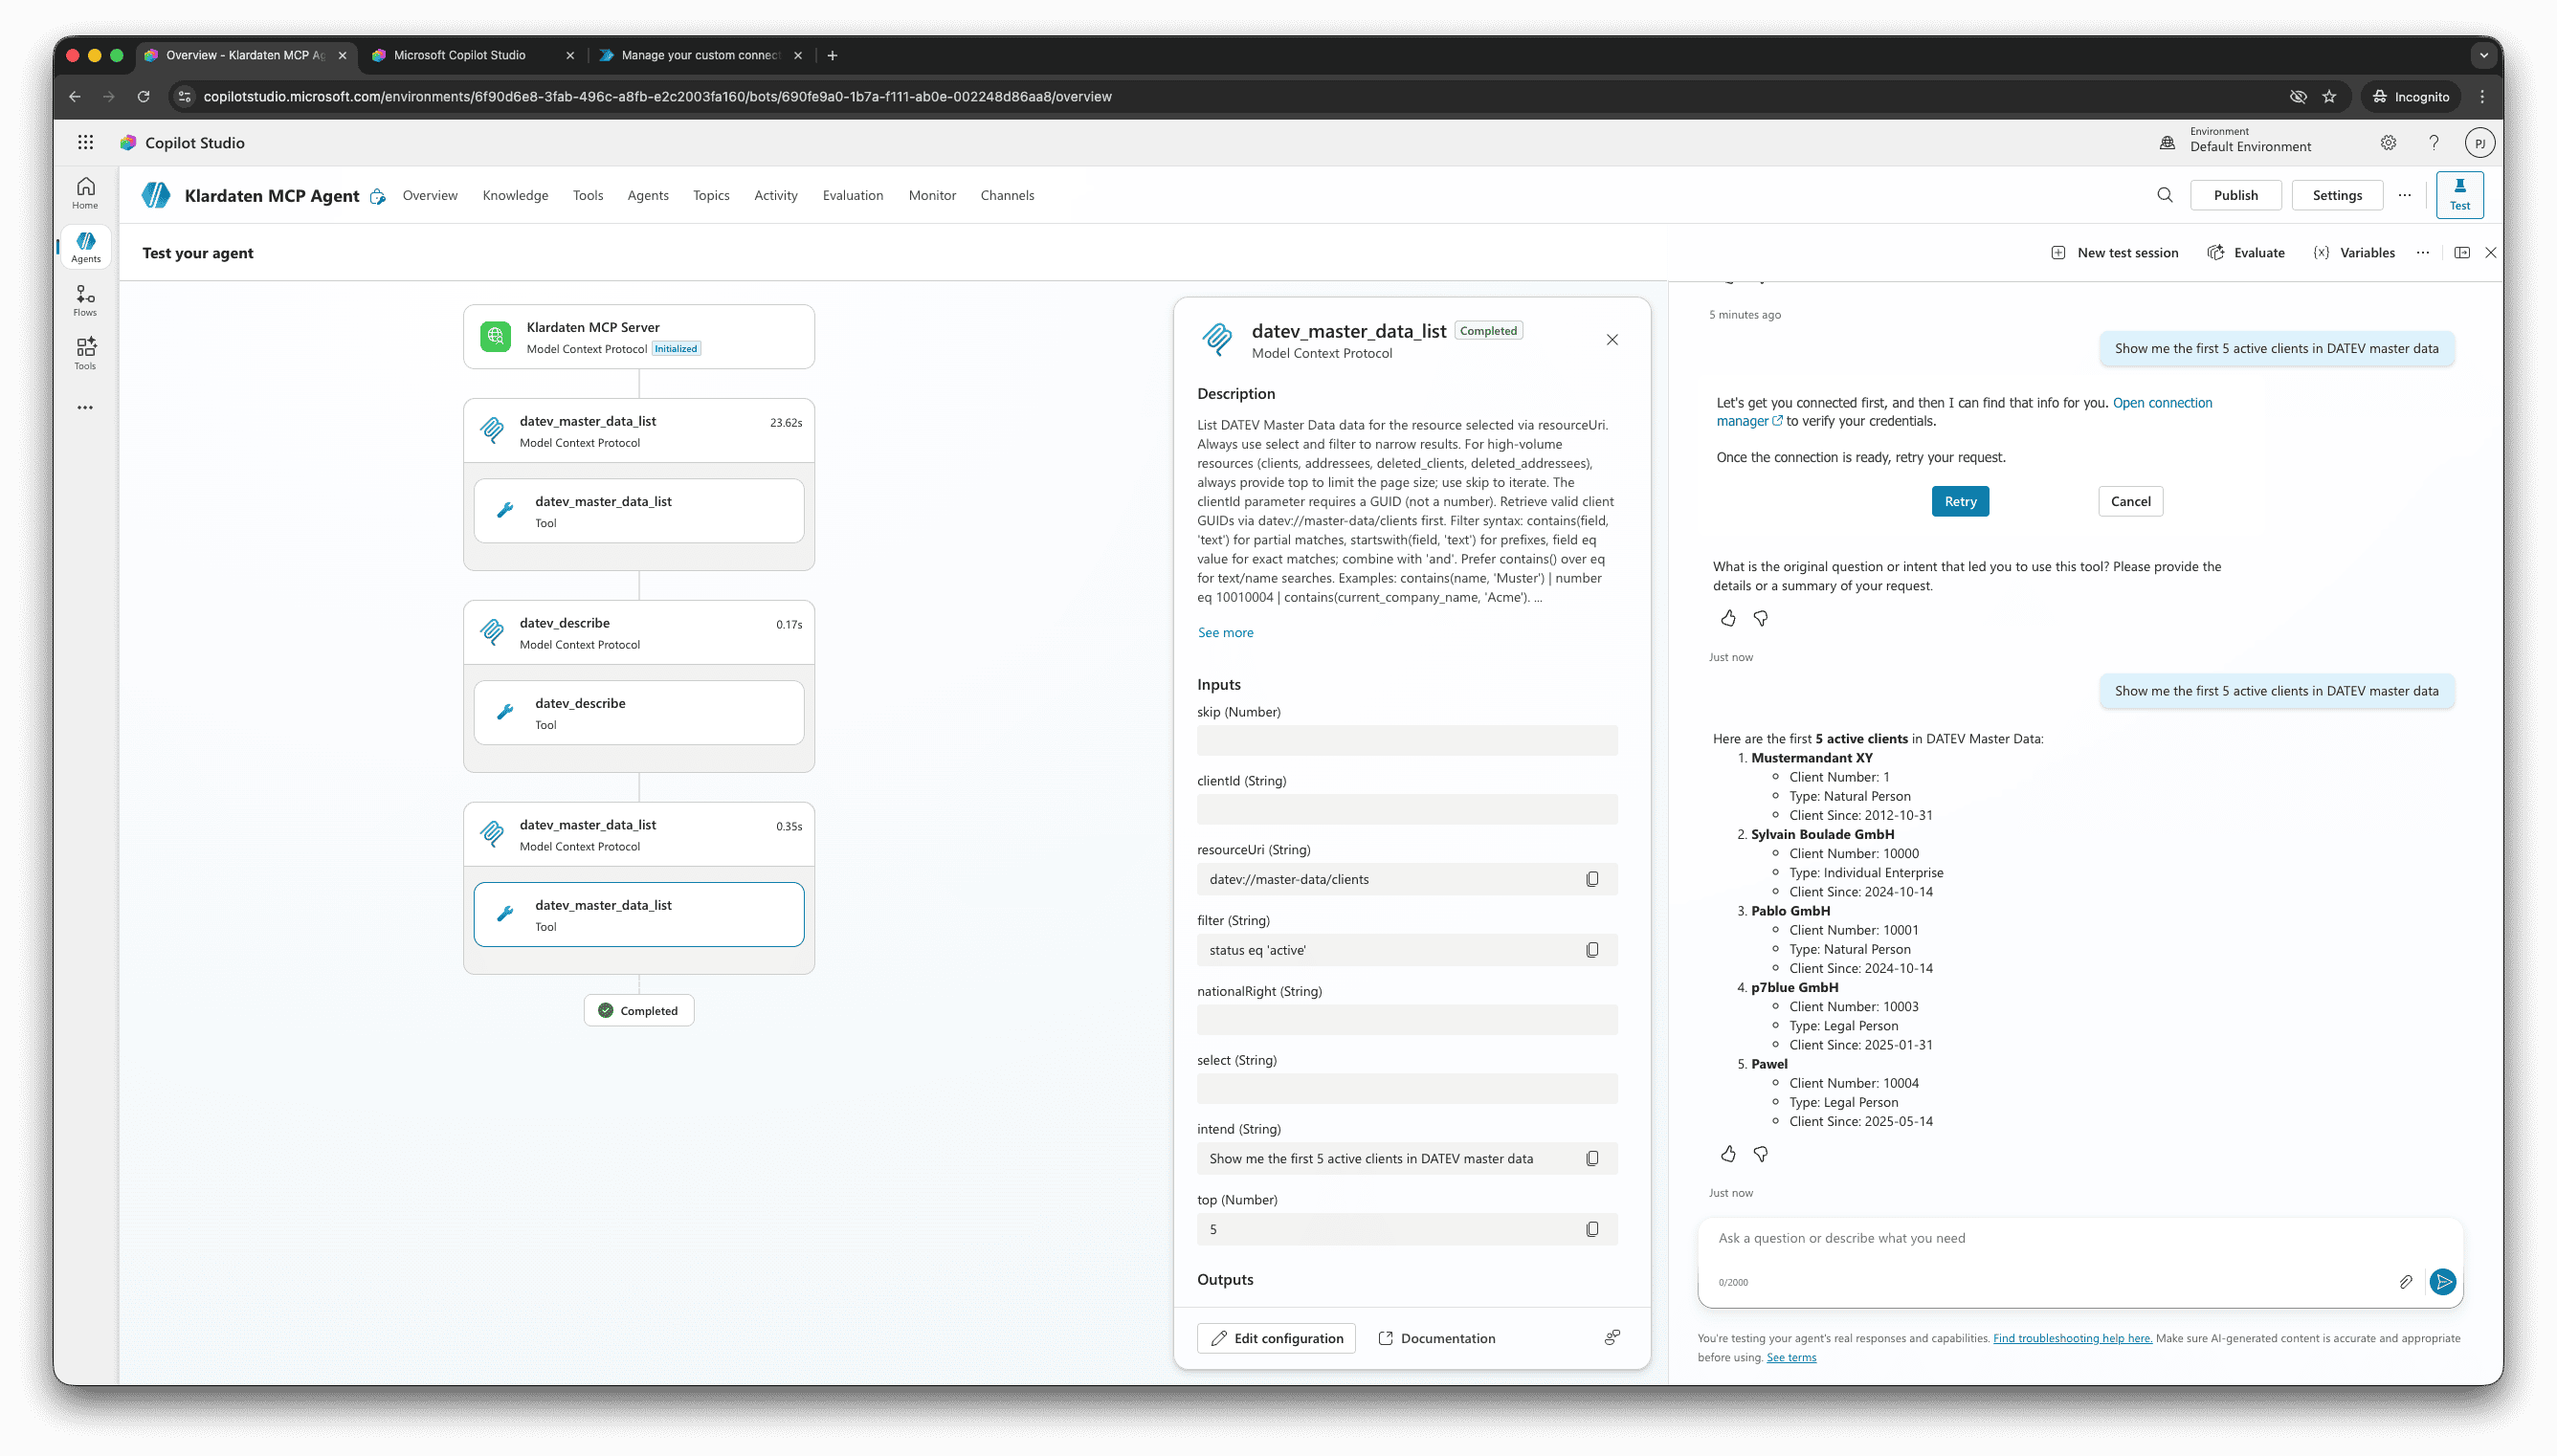
Copilot Studio uses Streamable MCP. Enable generative orchestration for the agent before testing MCP tools.
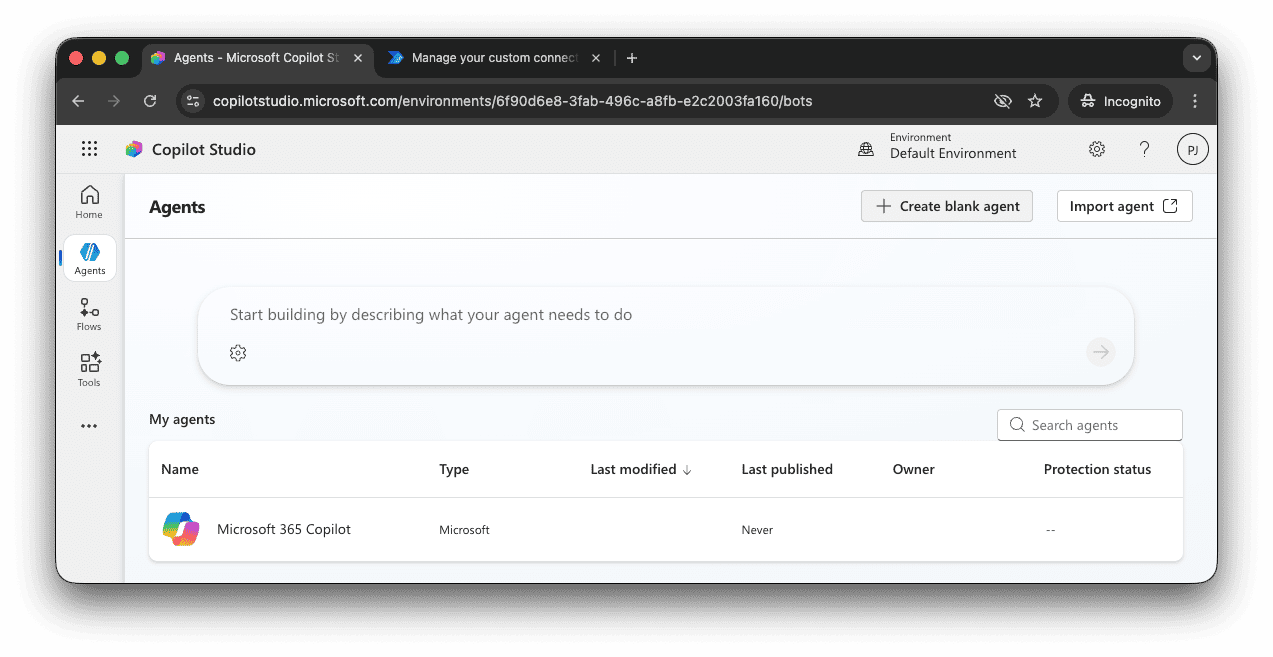
- In Copilot Studio, create a blank agent.
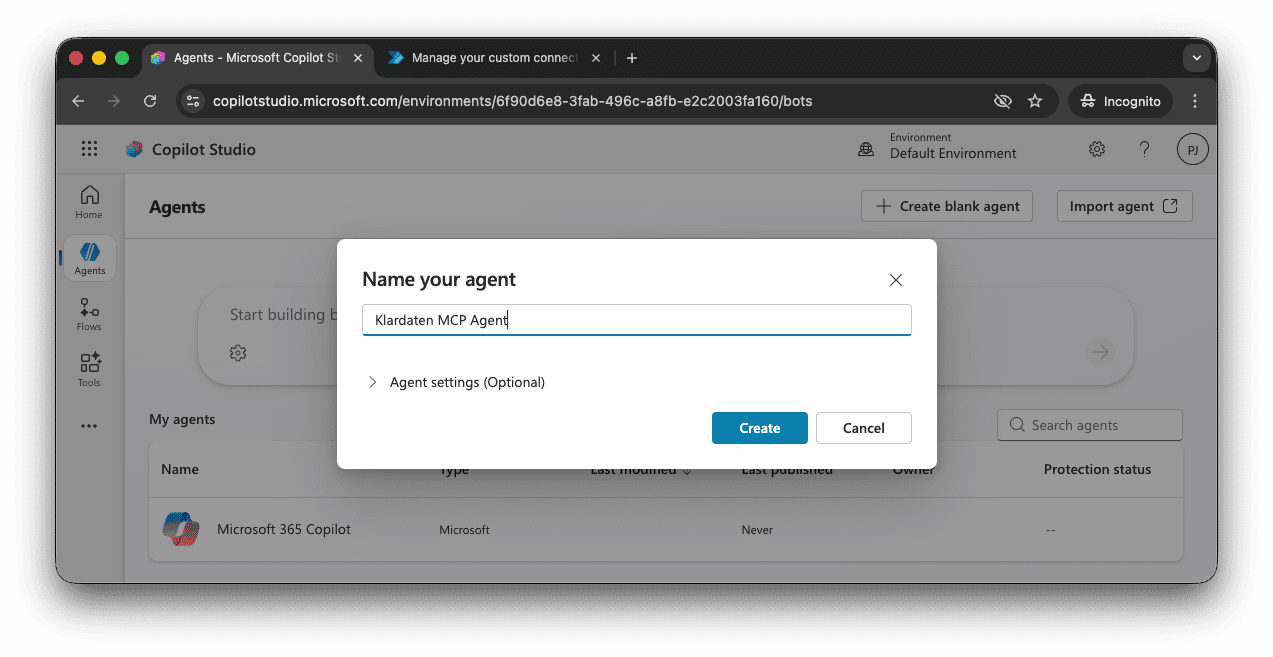
- Name the agent, for example Klardaten MCP Agent, then create it.
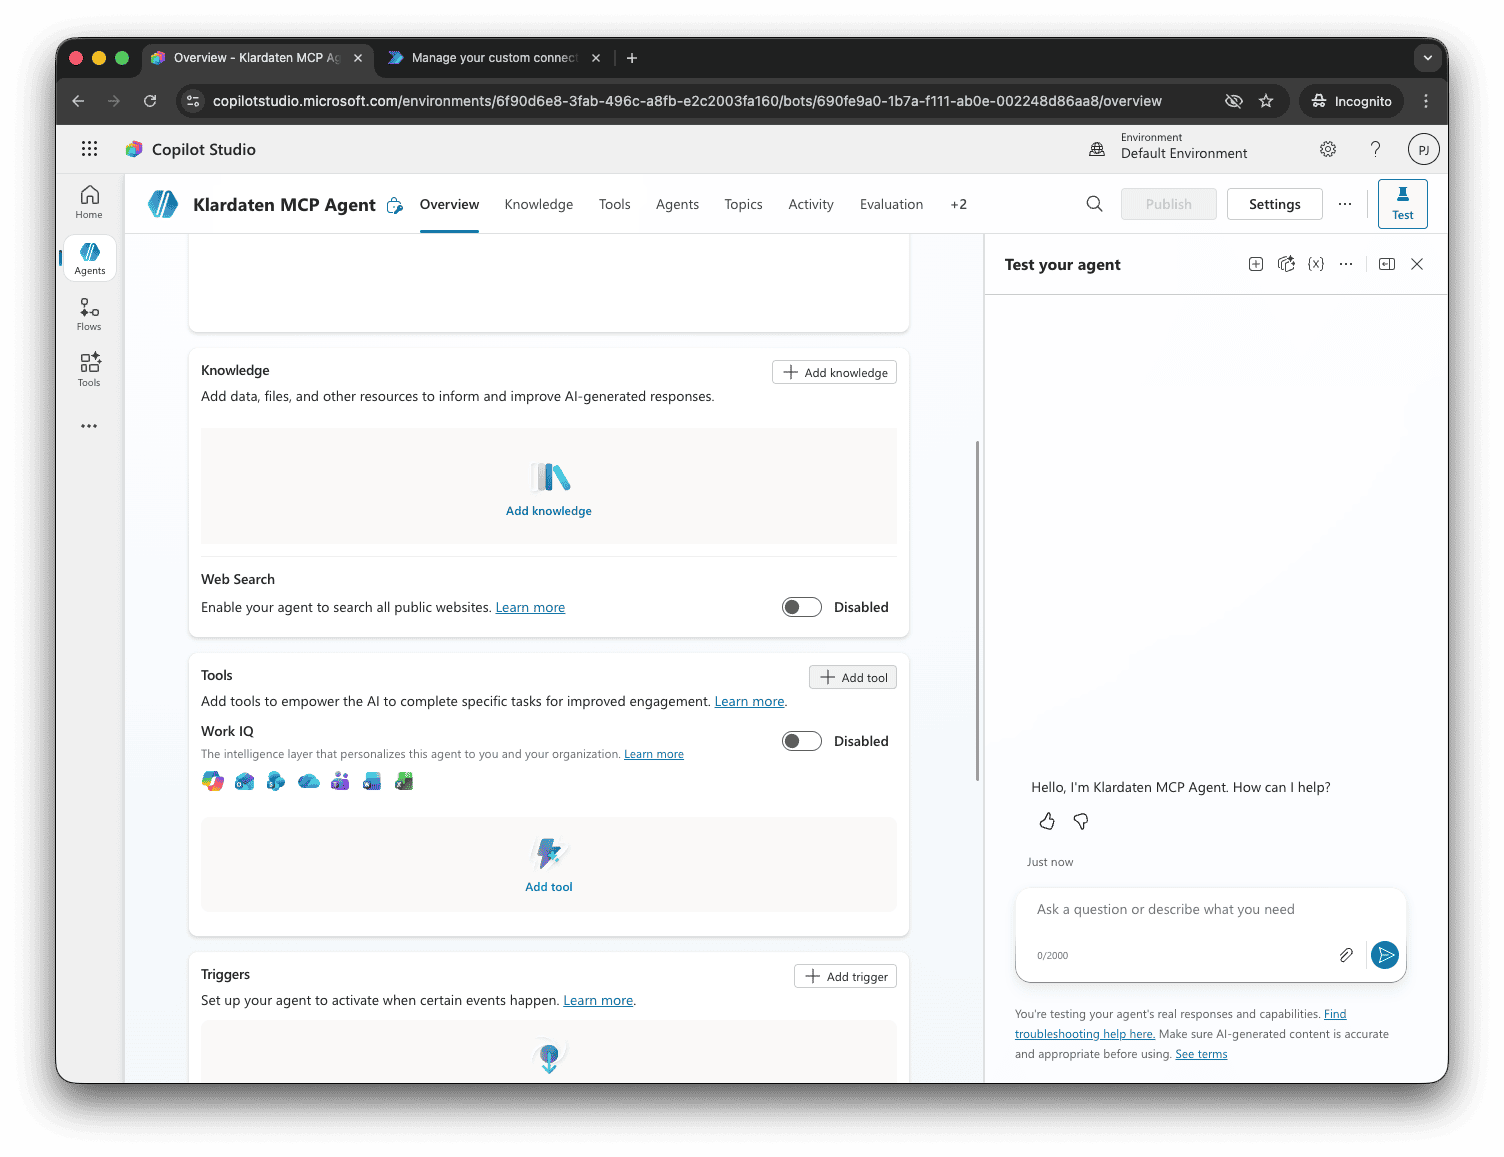
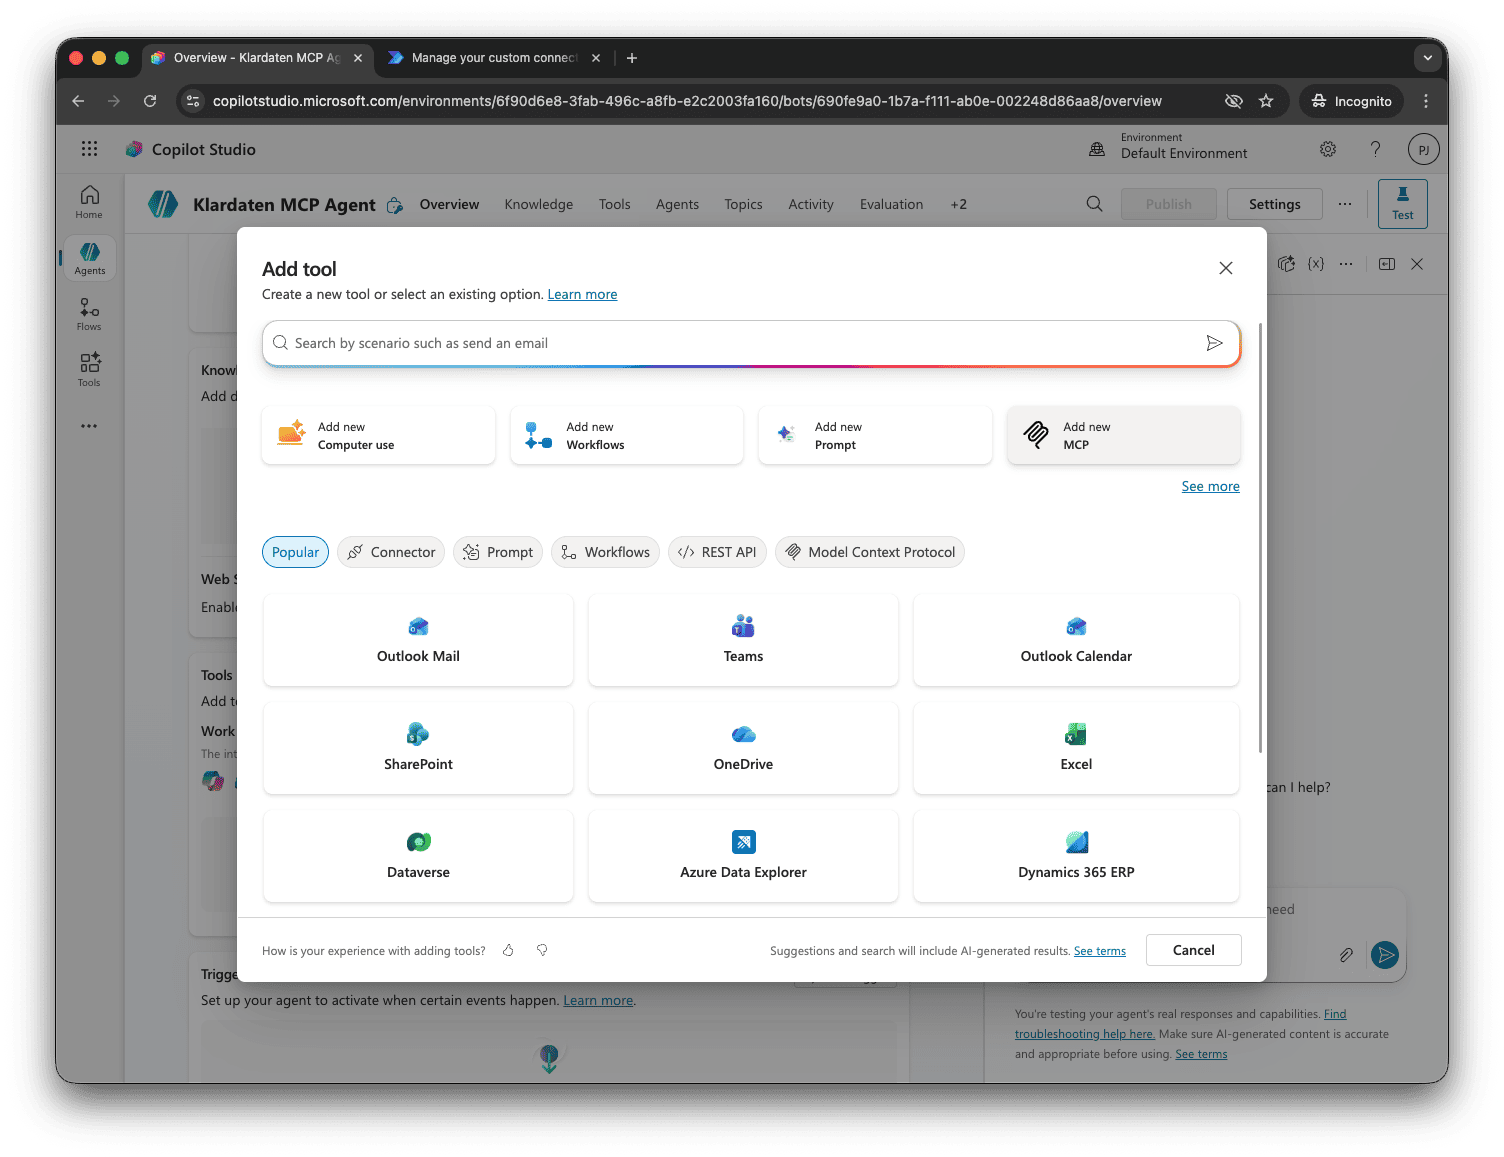
- Scroll to Tools and click Add a tool.
- Select Model Context Protocol from the tool options.
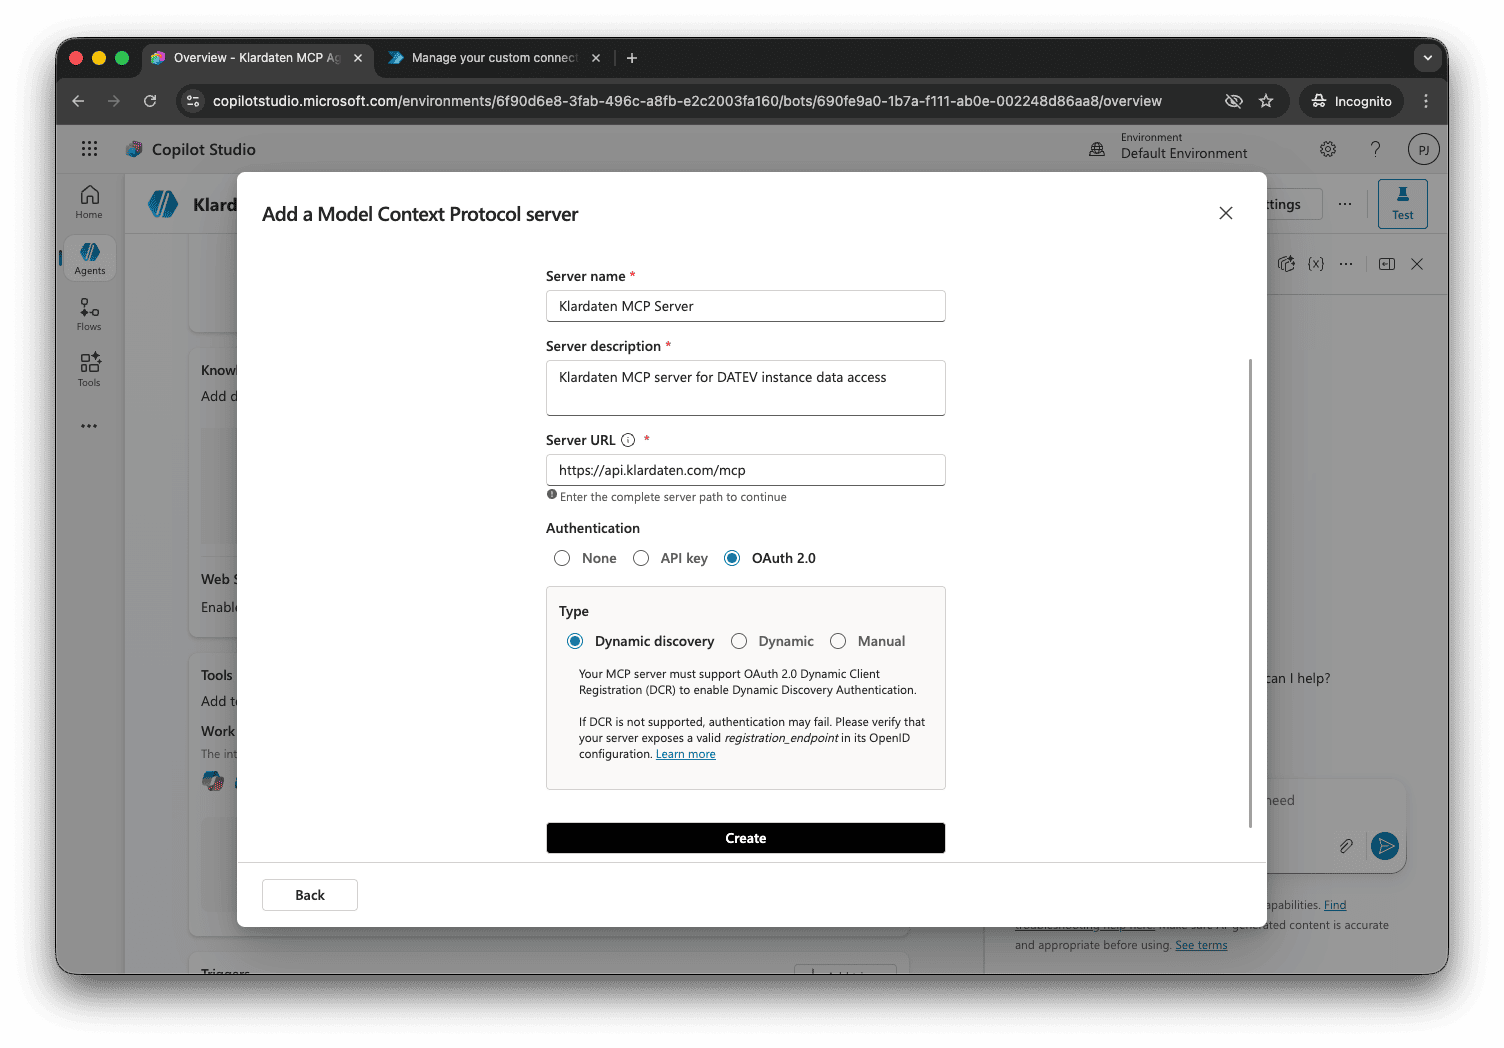
- Enter the MCP server details and click Create:
- Server name: Klardaten MCP
- Server description: Read DATEV data through the Klardaten MCP server for DATEV.
- Server URL:
https://api.klardaten.com/mcp - Authentication: OAuth 2.0 with dynamic discovery
- Click Connect to MCP.
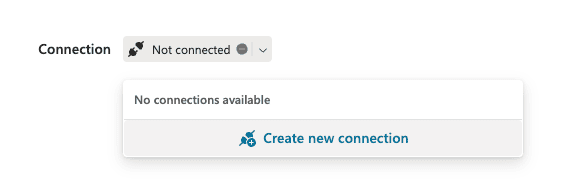
- Complete the Klardaten OAuth flow with your Klardaten credentials.
- After authorization, confirm that Klardaten MCP appears under Tools.
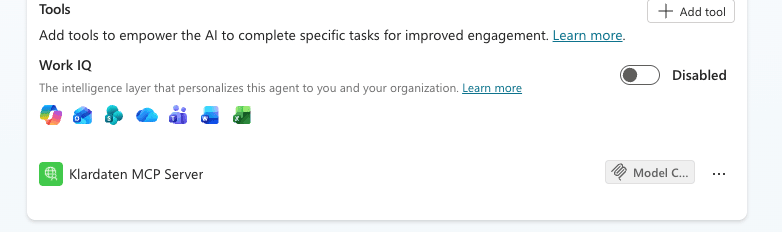
Copilot Studio may show a limited resource preview, for example only up to five resources. This is a preview limitation; the agent can still use the resources through Klardaten MCP tools.
- Open the test chat and enter a DATEV prompt.
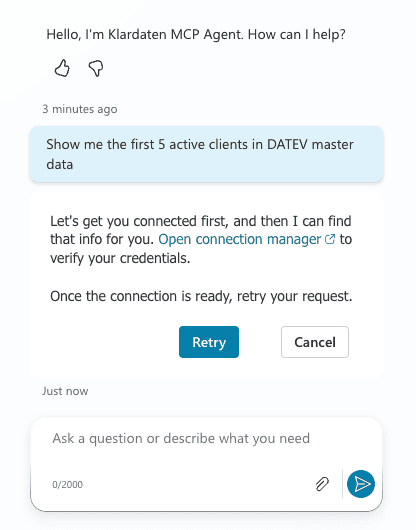
- When Copilot Studio asks to connect to the MCP server, click Connect.

- Submit the connection so Copilot Studio can use the authorized MCP server.
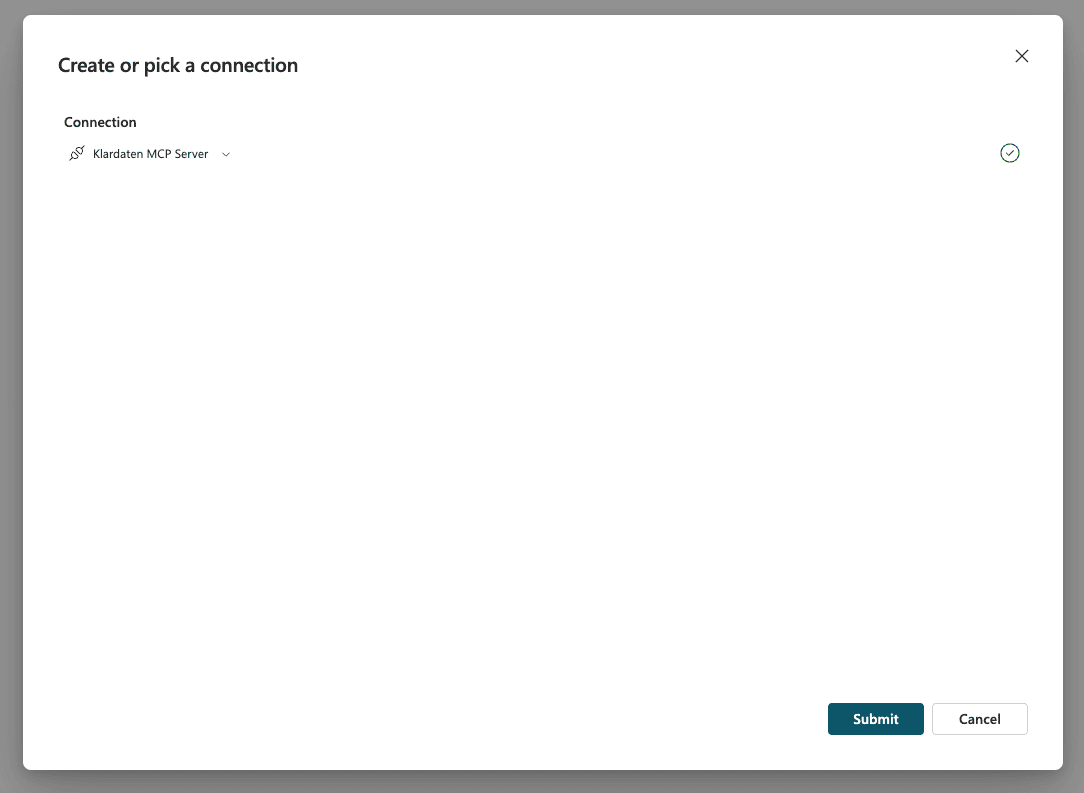
- Run the prompt again. Copilot Studio can now call the Klardaten MCP tools from the agent.