Before you start
- Create your Klardaten API key using the link in your installation email. It starts with uk-.
- Check how many licenses you have and who should have access.
1. Add an integration
In Logicc, open Integrations (Integrationen) and click Add custom integration (Benutzerdefinierte Integration hinzufügen) in the top right.

2. Enter the server URL
Enter the following address in Server URL (Server-URL), then click Next (Weiter):
https://api.klardaten.com/mcp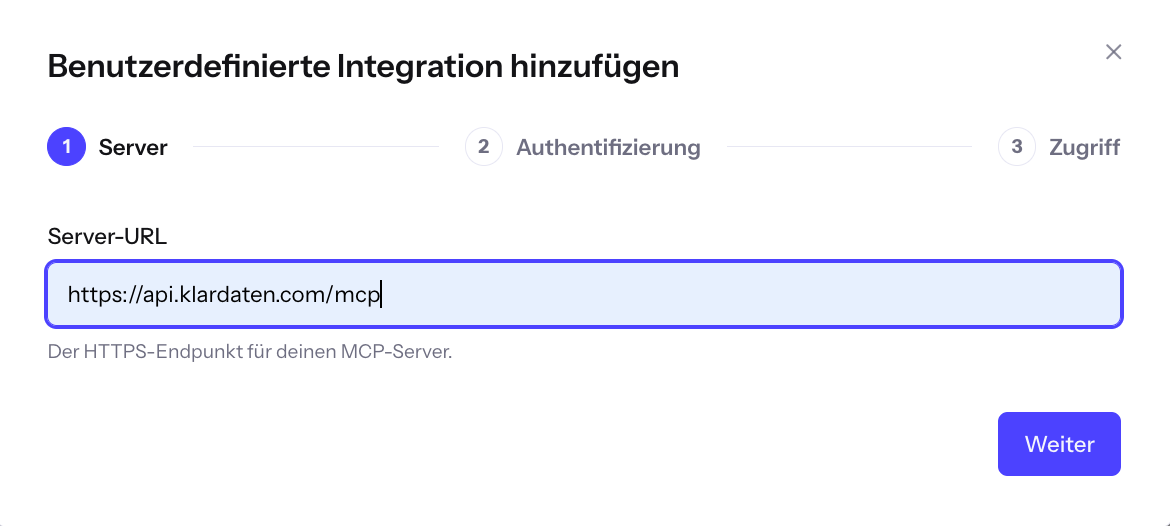
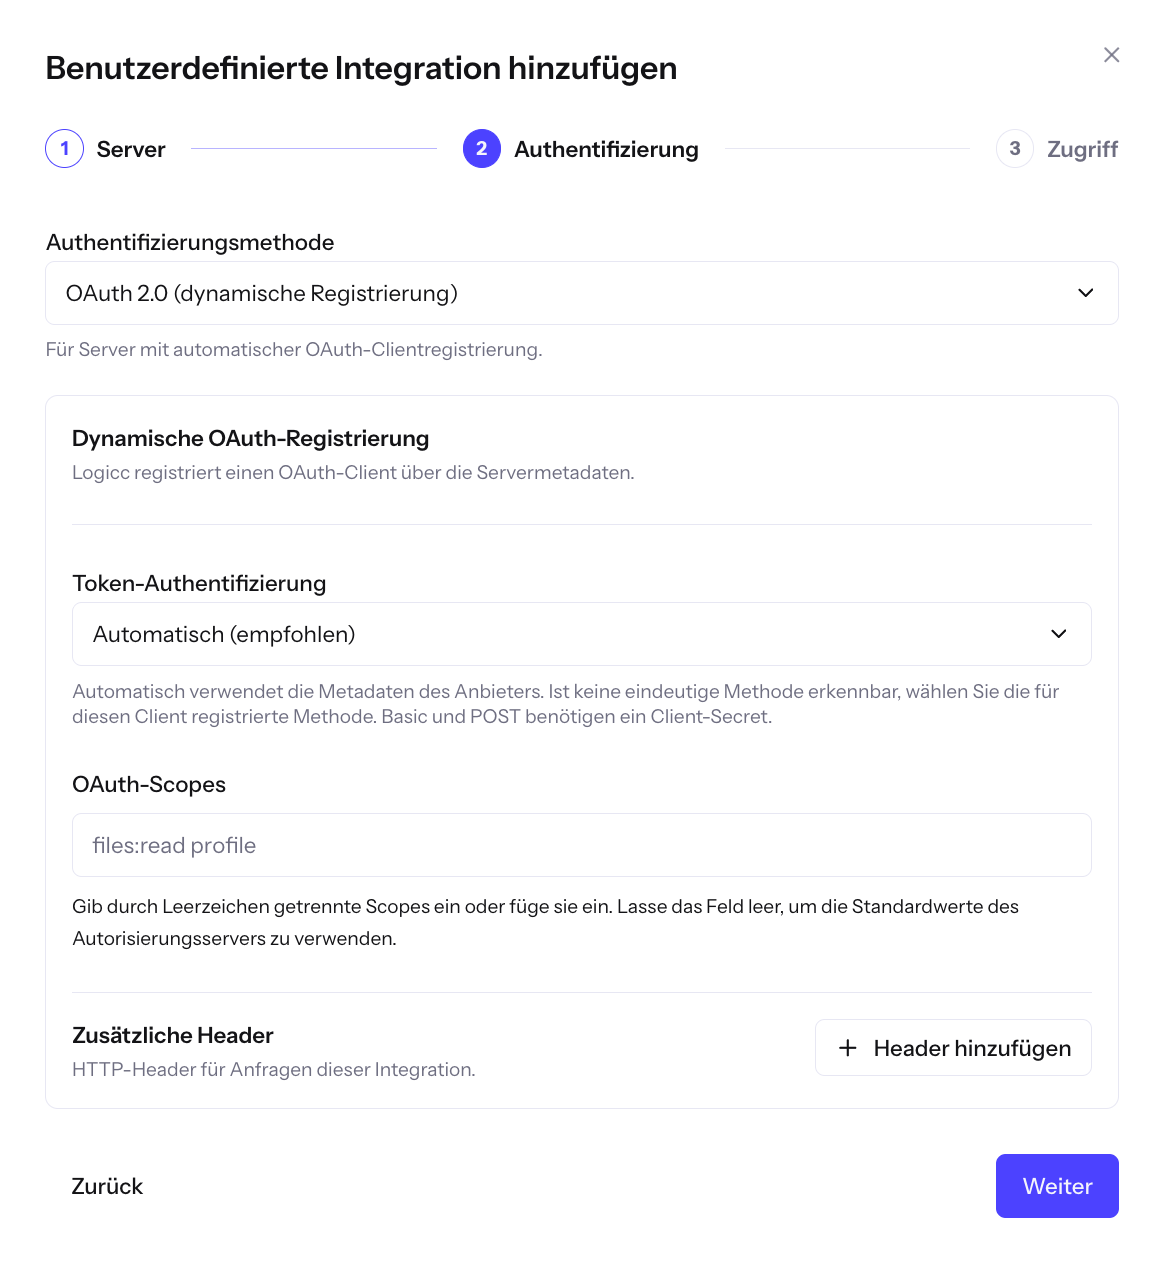
3. Check authentication
Check that the settings match the table. Change them if needed, then click Next (Weiter).
- Authentication method (Authentifizierungsmethode)
- OAuth 2.0 with dynamic registration (dynamische Registrierung)
- Token authentication (Token-Authentifizierung)
- Automatic, recommended (Automatisch, empfohlen)
- OAuth scopes (OAuth-Scopes)
- Leave empty. The grey text is only a placeholder.
- Additional headers (Zusätzliche Header)
- Do not add any headers.
4. Choose who has access
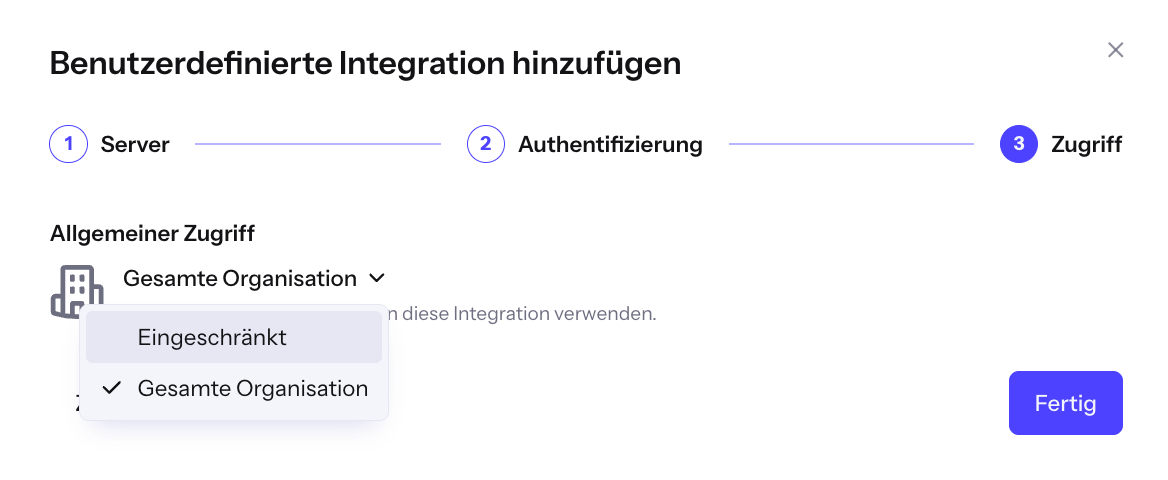
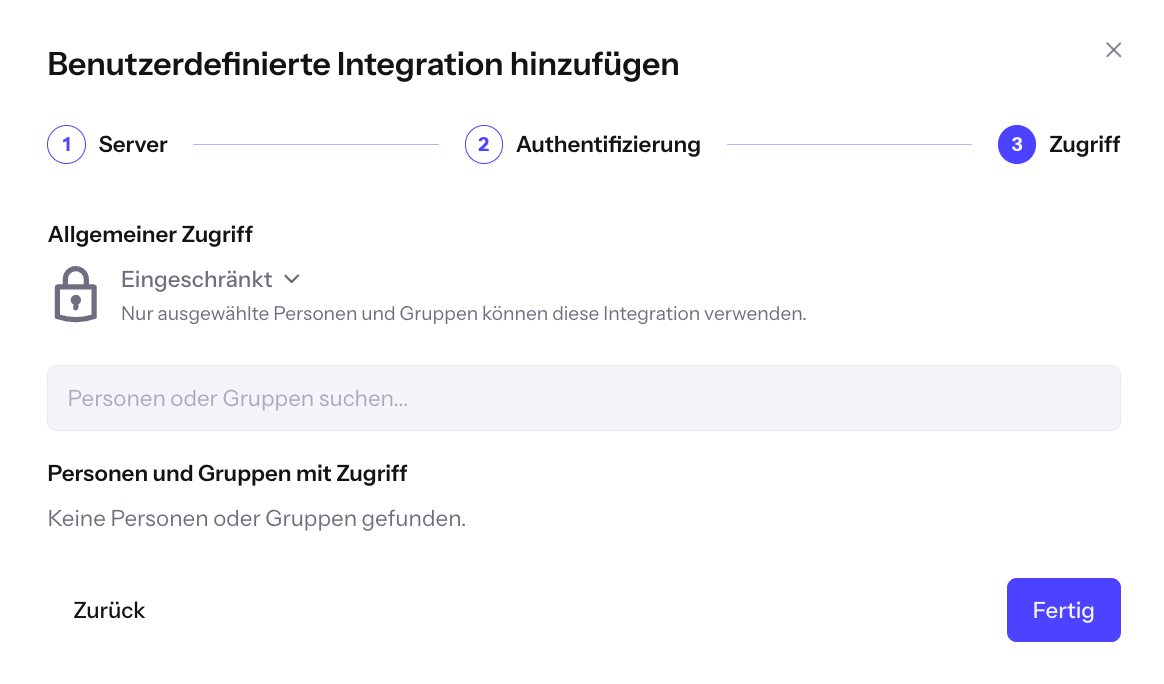
Under General access (Allgemeiner Zugriff), select Restricted (Eingeschränkt). Find the people who should have access and add them. Then click Done (Fertig).
5. Sign in with your API key
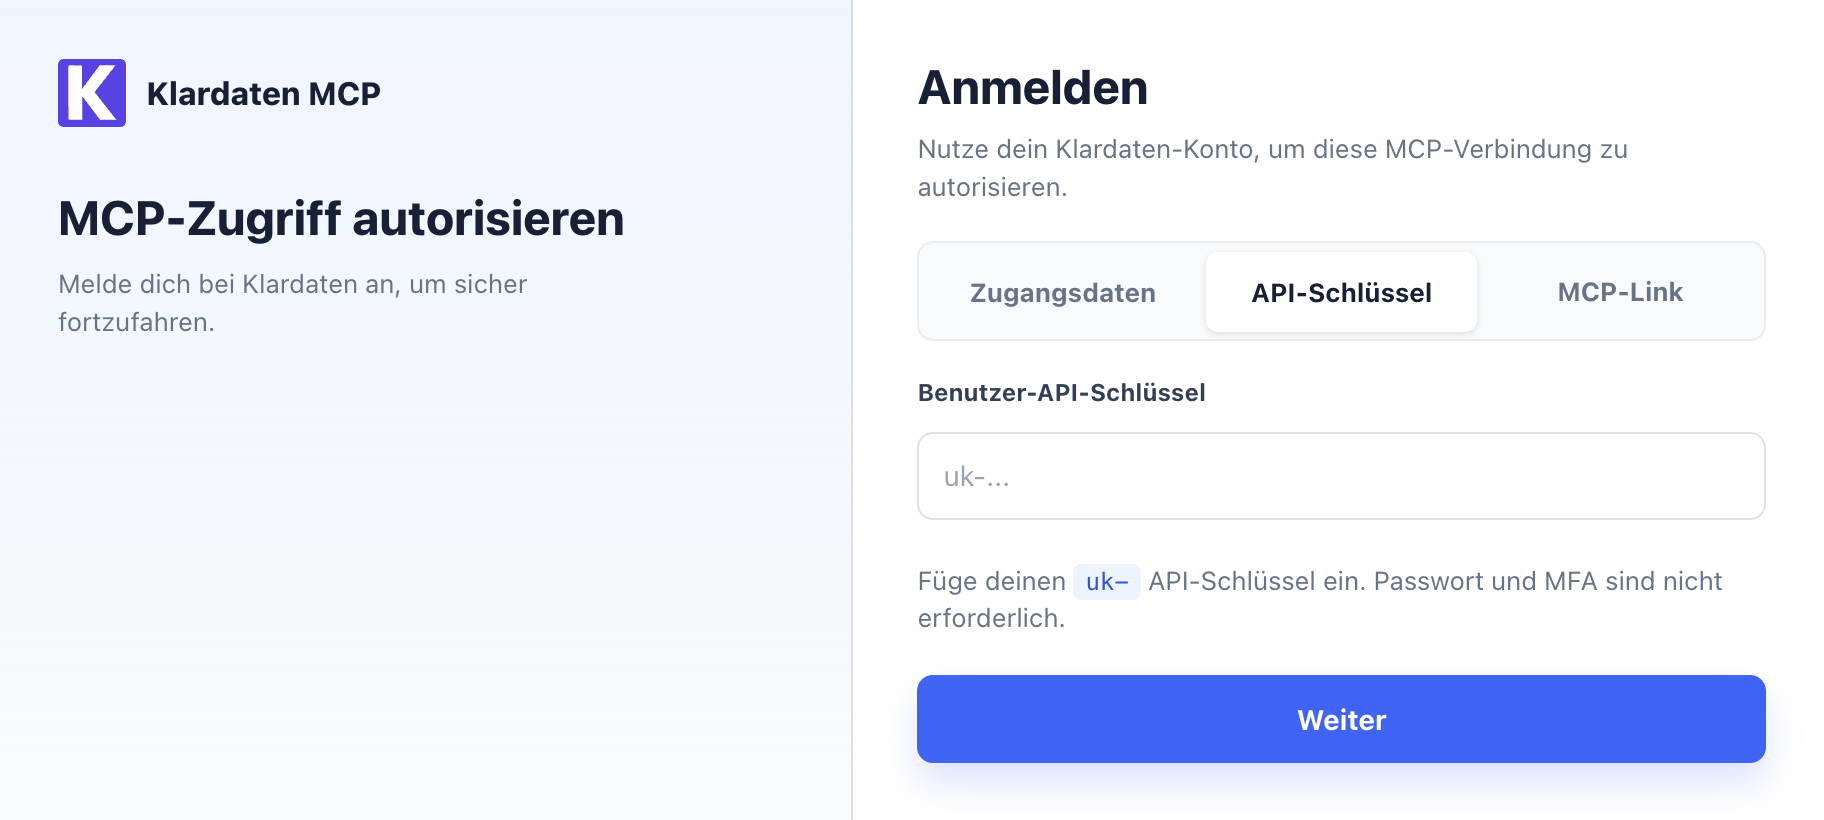
Clicking Done (Fertig) opens the Klardaten sign-in. Select API Key (API-Schlüssel), paste your key, and click Continue (Weiter). You don’t need a password or two-factor code.
6. Use Klardaten in chat
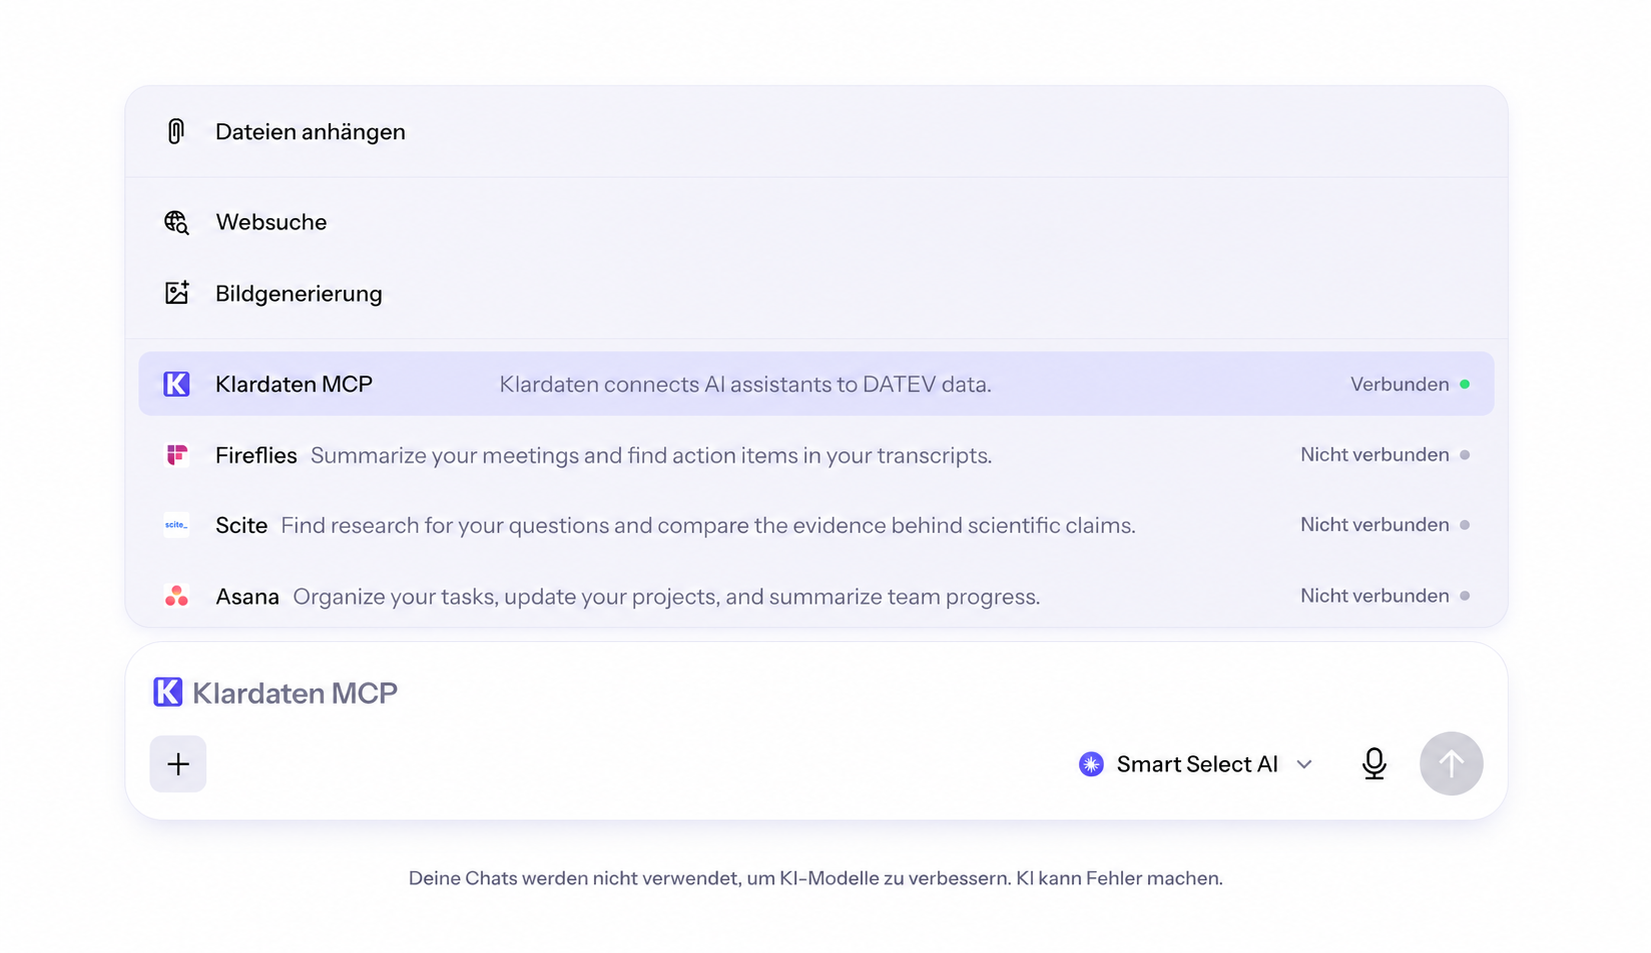
Open a chat, click +, and select Klardaten MCP. Check that it shows Connected (Verbunden).
If more people need access later, add them to your Klardaten integration under Integrations. Check that you have enough licenses first.
Need help?
If something doesn’t work, email Logicc at: